How to Style a Dinosaur Birthday Table Step by Step, From Tablecloth to Balloons
The cake needs a stage, the pizza needs room, and ten small hands need somewhere to put a cup. Here is how to style a dinosaur table that works as well as it looks.
Emily Parker · 4 min read
You have the cake, the pizza, the juice boxes and ten kids who all want to sit next to the birthday boy. And you have one table that has to hold all of it and still look like a dinosaur party.
The trick is to style it in layers, from the bottom up, and to leave room for what actually happens at a children's table: food, drinks and elbows. Here is the order I would use.
Step 1: Measure the table and pick the base
Start with the cloth. A plain green or a dinosaur print sets the tone, and it is also the easiest way to hide an ordinary table. If your table is longer than the cloth, run a strip of paper or a second cloth across the middle and let the ends overlap.
Step 2: Set the places
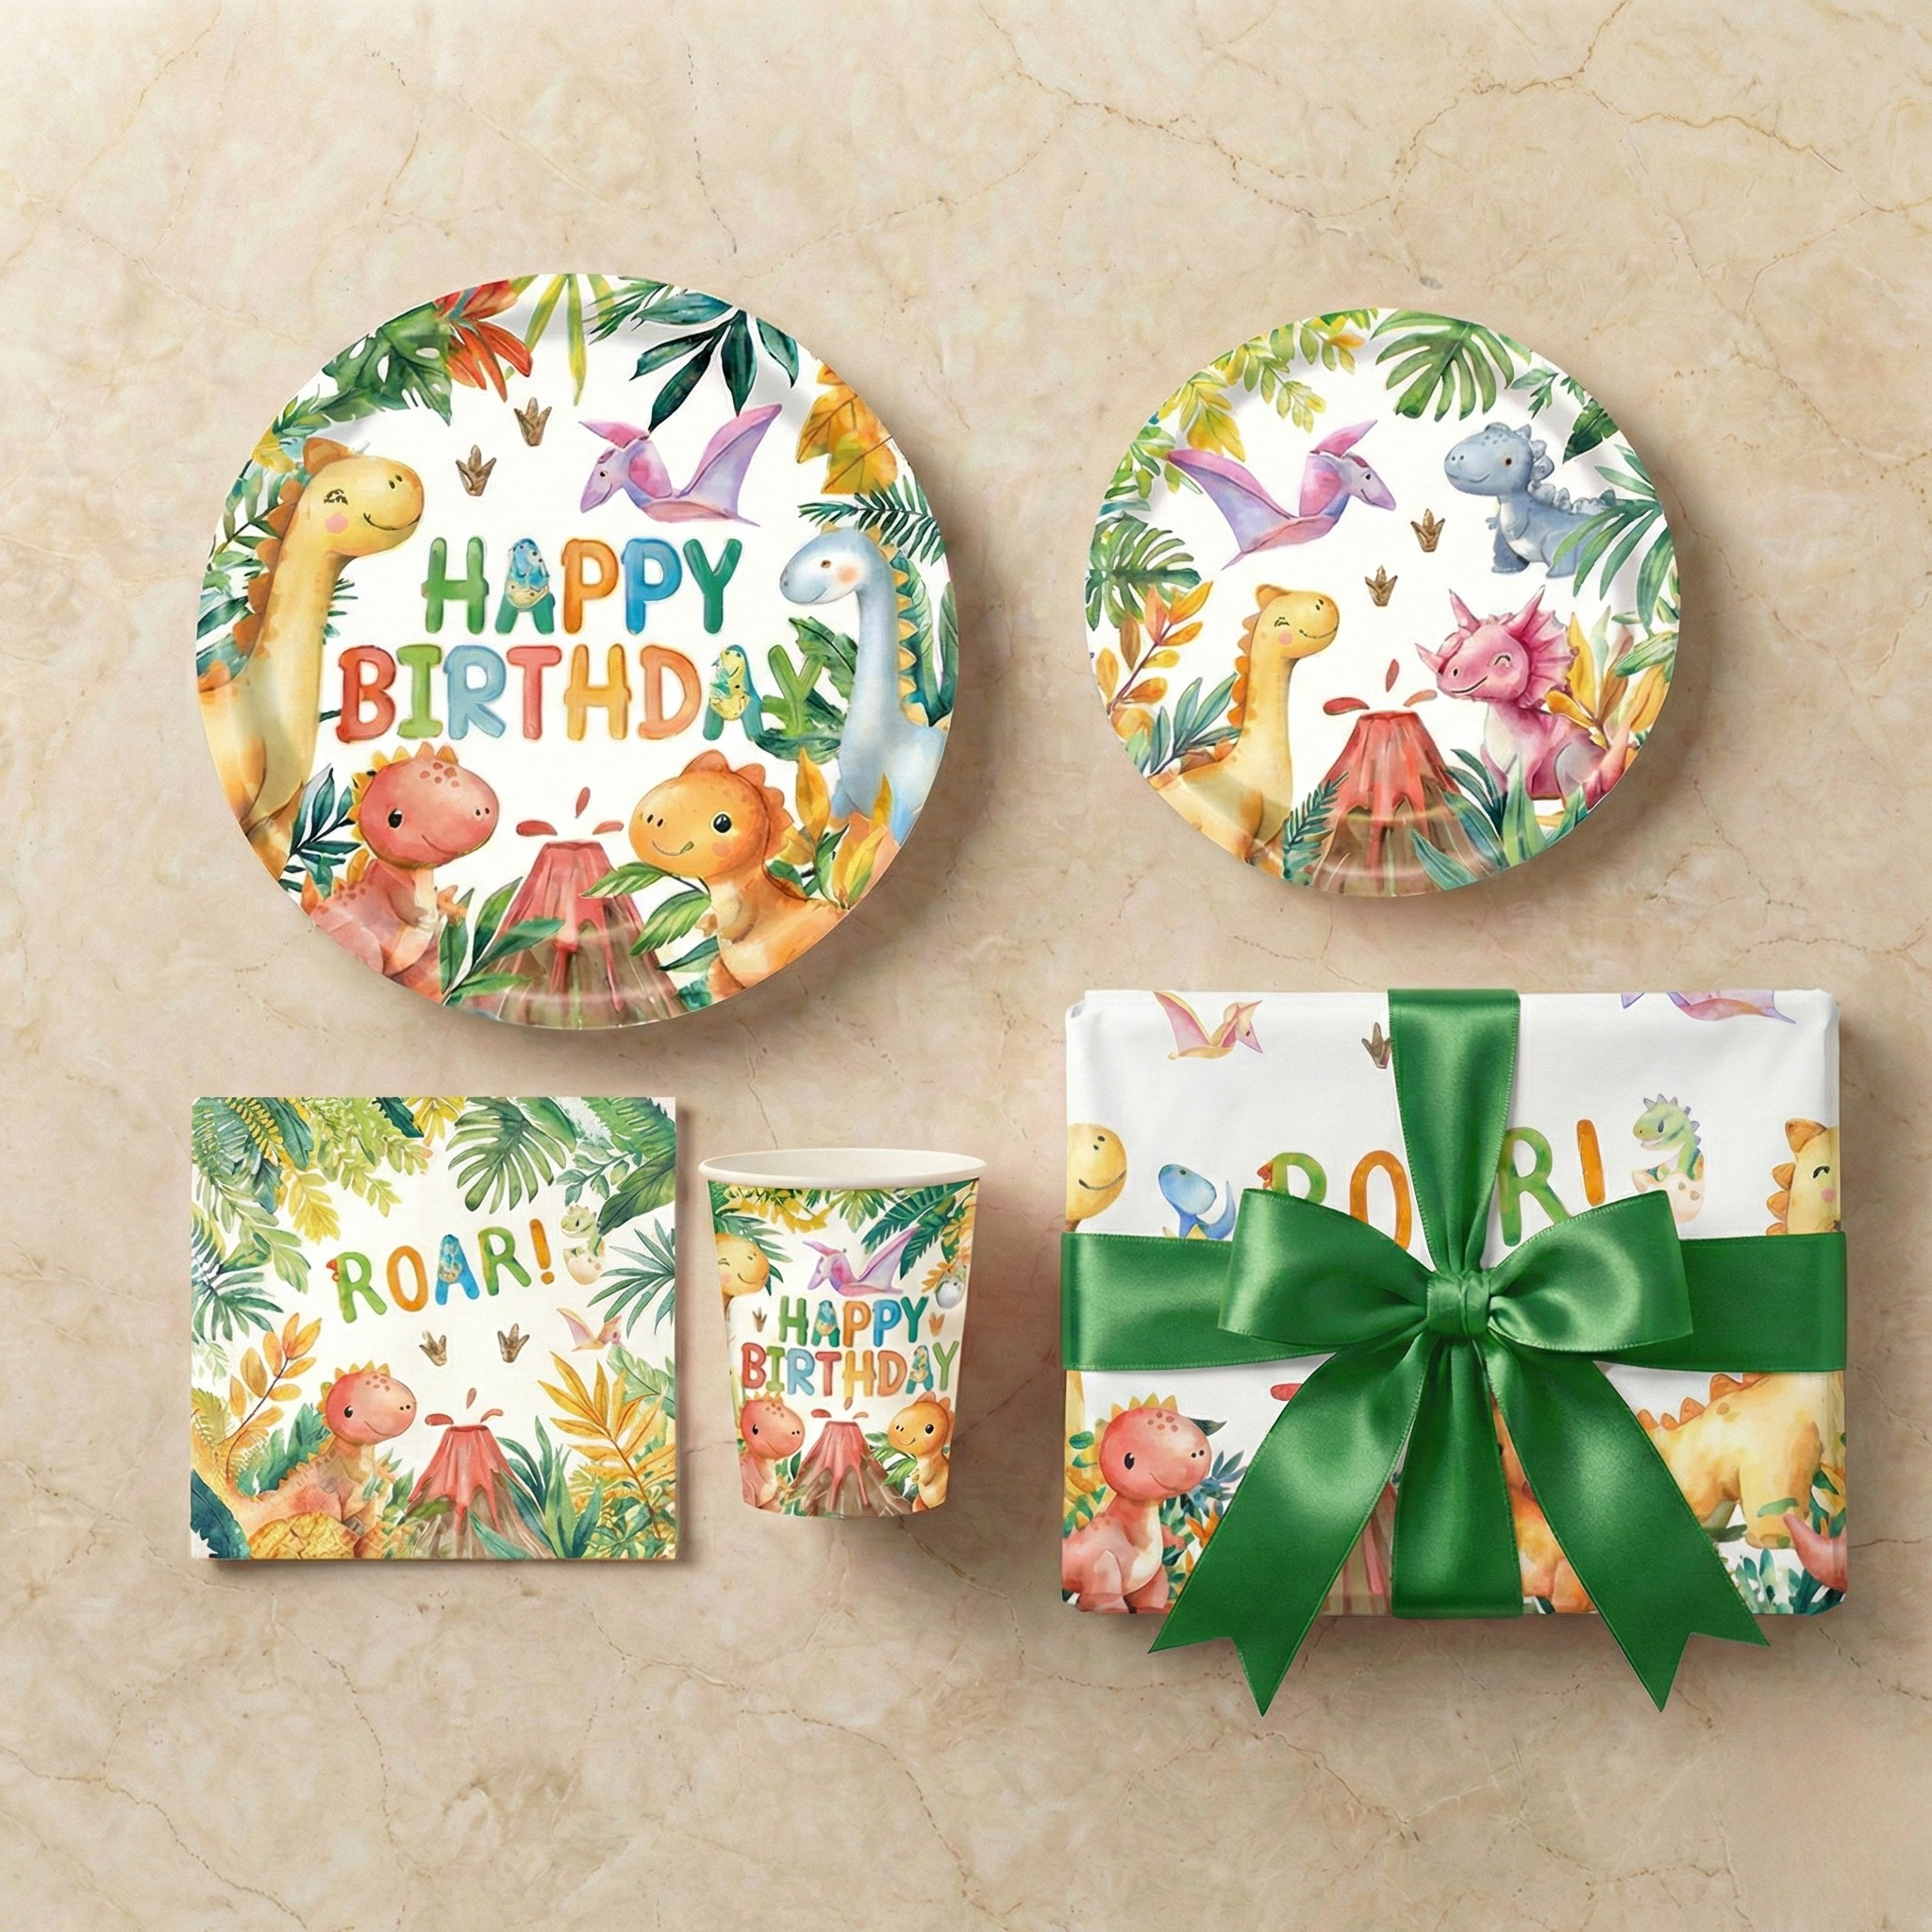
Lay one large plate per child with a smaller plate on top, a cup to the right and a napkin folded under or beside the plate. For a dinosaur look without the clutter, use plates and napkins in the theme, and keep everything else plain. The dinosaur tableware set brings these pieces together already matched.
Step 3: Keep the middle clear
This is the step most people skip. Leave a strip down the center of the table for pizza, fruit and the cake plate. A centerpiece on the table is lovely until the food has nowhere to land.
Step 4: Put the drama above and behind
Everything dramatic goes up, not out. Hang the backdrop or banner on the wall behind the cake end of the table, and put balloons at the sides or above, so the table stays free. A bunting along the front edge of the table adds the party feel without taking space.
Step 5: The cake corner
Give the cake its own spot at one end of the table, against the backdrop, so the photo has a setting. Put the topper on at the last moment, and keep real candles away from balloons and paper.
Step 6: Balloons, in clusters
Fill a few green latex balloons in different shades and gather them in clusters of three or five. Anchor each cluster to a weight so it stays where you put it. A jumbo foil dinosaur beside the cake gives you a mascot for photos.
Step 7: One surprise per child
A small dinosaur at each place, a name card or a footprint sticker is enough. Children love finding their own spot, and it speeds up seating.
A kit that does most of this for you
The dinosaur set includes a jungle backdrop, seven jumbo dinosaur foil balloons, a green bunting banner, green latex balloons and a tableware set for twenty guests, so the table, the wall and the balloons already match:
What to check before the guests arrive
Seating ten small guests
Children sit better when they know where to sit. Place the birthday boy at the end nearest the cake, put the youngest guests next to a parent, and keep the two friends who get loud together apart. If you have more guests than chairs, a second low table or a picnic blanket on the floor works, and a few plates and cups in the same theme keep it part of the same party. Keep drinks in cups with lids if you can; a spilled juice on a dinosaur cloth is easy to wipe, but only if the cloth is wipeable.
Cleaning up without tears
Lay a cheap plastic or paper cover under the cloth if you are worried about the table, and keep a roll of paper towels and a bin bag at the end of the table. Clear plates as the cake comes out, so the table is ready for the photo and nobody is stepping on cake crumbs.
If the table is small
Use the wall. Hang the bunting along the wall, put the foil dinosaur on the floor beside the table or hang it above, and keep the table itself to plates, cups and the cake. A small table styled simply looks better than a large table crowded.
For more themes, browse our kids party kits. Then pour the juice and let the roaring begin.